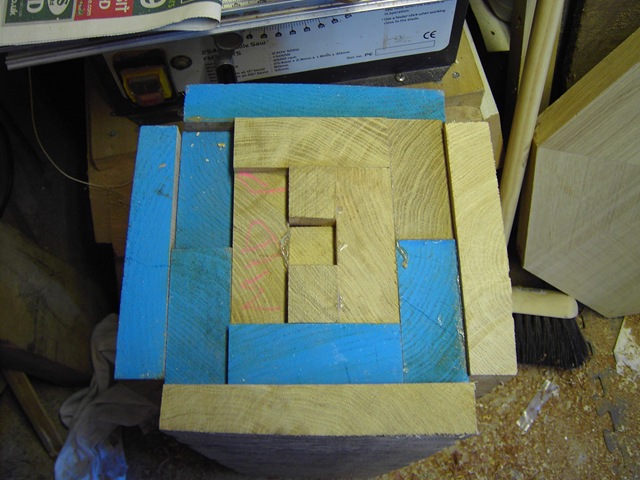
I decided to make the centre column first and this needed a hole right down through the middle to allow for a copper pipe to be inserted for draining  the font. This picture shows the first part of the construction with a small plug of timber inserted at each end on which the drive centres will be located.These plugs were about 1 1/2” long and about 1”square,this was big enough to support the laminated structure and small enough to be drilled out on completion of the turning. These were glued in as part of the lamination so as to give the required strength to the centres.

I then carried on laminating pieces together until I had a solid lump big enough to turn the centre column out of.In this picture you can see the finished lamination and clearly see the plug in the centre.
When I was ready to lift this piece off the bench I thought that I had glued it to the top but it turned out that it was heavier than I had anticipated and I was not strong enough to lift it. Because it was now too big to go through the bandsaw I had to cut the block to length with my chain saw
.Once it was mounted on the lathe between centres it was too big to rotate and so I used the power planer 
to knock off the corners just enough to let it revolve.

This next picture shows me turning the column, this caused it’s own problems as there was no room for the tool rest until I had turned away some of the waste but you can see that the corners have been removed.I kept the turning speed down until the whole thing was balanced and then it happily turned at 425 rpm.As you can see I have a Union Graduate lathe,I was impressed with it’s performance before I started this project but even more so now.