I am pleased to say that last year at the Annual General Meeting of the Register of Professional Turners, which is supported by the Worshipful Company of Turners of London, I became the third ever Chairman of the RPT. This is a great honour for me and now nearly one year on I am looking forward to hosting my first AGM as Chairman.
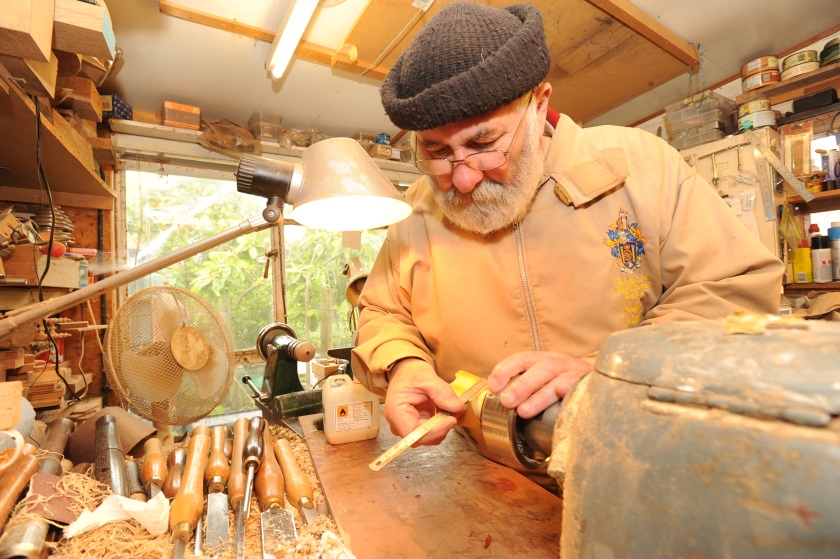
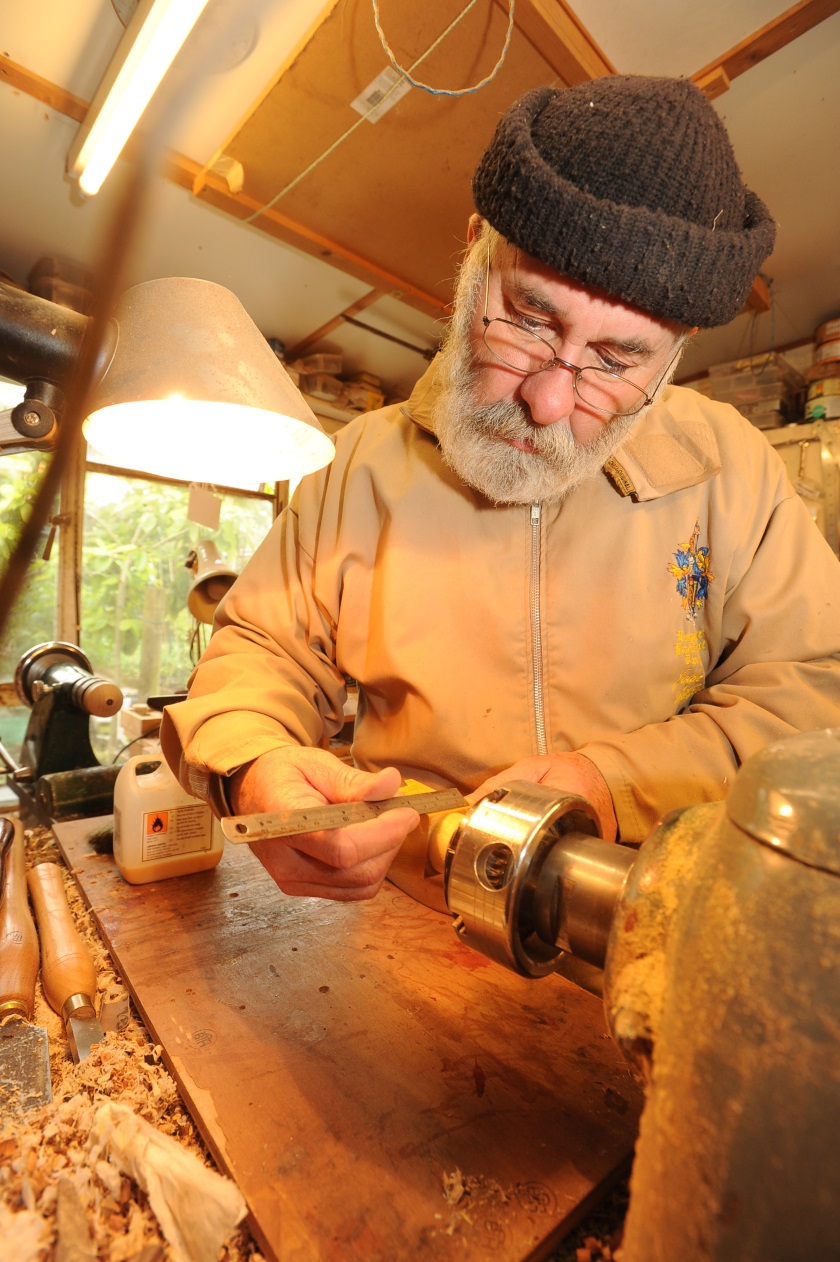
Recent photographs of me in the workshop
Latest work
 A nice piece of Burr Elm, turned and decorated with verdigris wax. Approx 8” diameter.
Wiltshire Crafts Lacock
Wiltshire crafts Lacock
You are invited to attend
Meet the makers day
19th April 2014
10.am-5.00.pm
at
Manger Barn
Lacock
Come and visit the members of Wiltshire crafts Lacock and see them demonstrating their crafts live.
Turned form

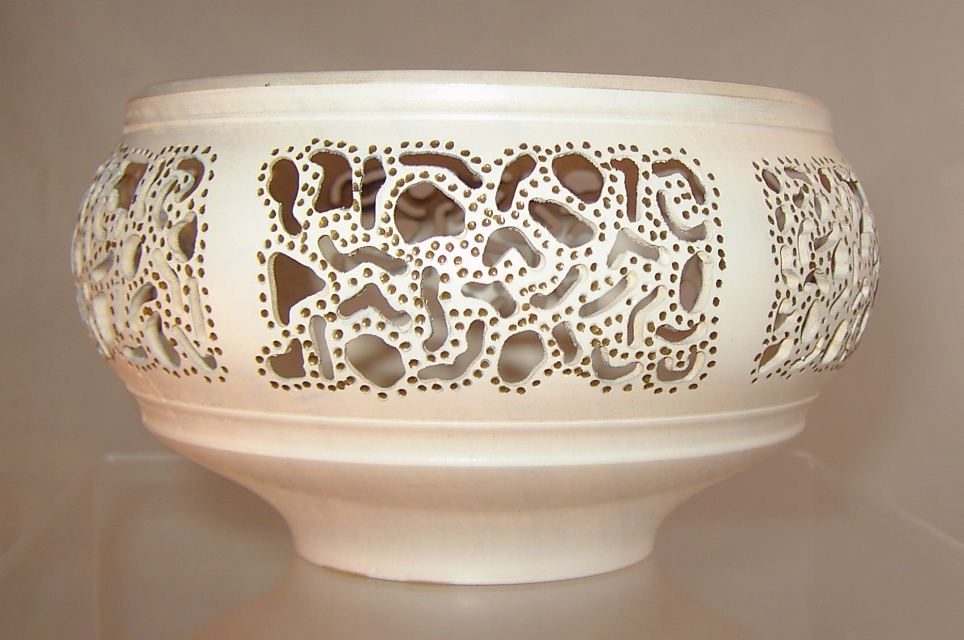
White pierced bowl
Latest work
Here is a plate in Olive Ash, about 7 inches across. The middle is raised to give a central “Boss” and the edge is textured and stained.

 This piece is made from Maple with a Paisley design, hand drawn and coloured.
In the News: Renovated Town Crier Bell
“The bell-ringing prowess of Trowbridge’s town crier has been reinvigorated after local woodturners fashioned him a new handle for his bell after the old one cracked.”
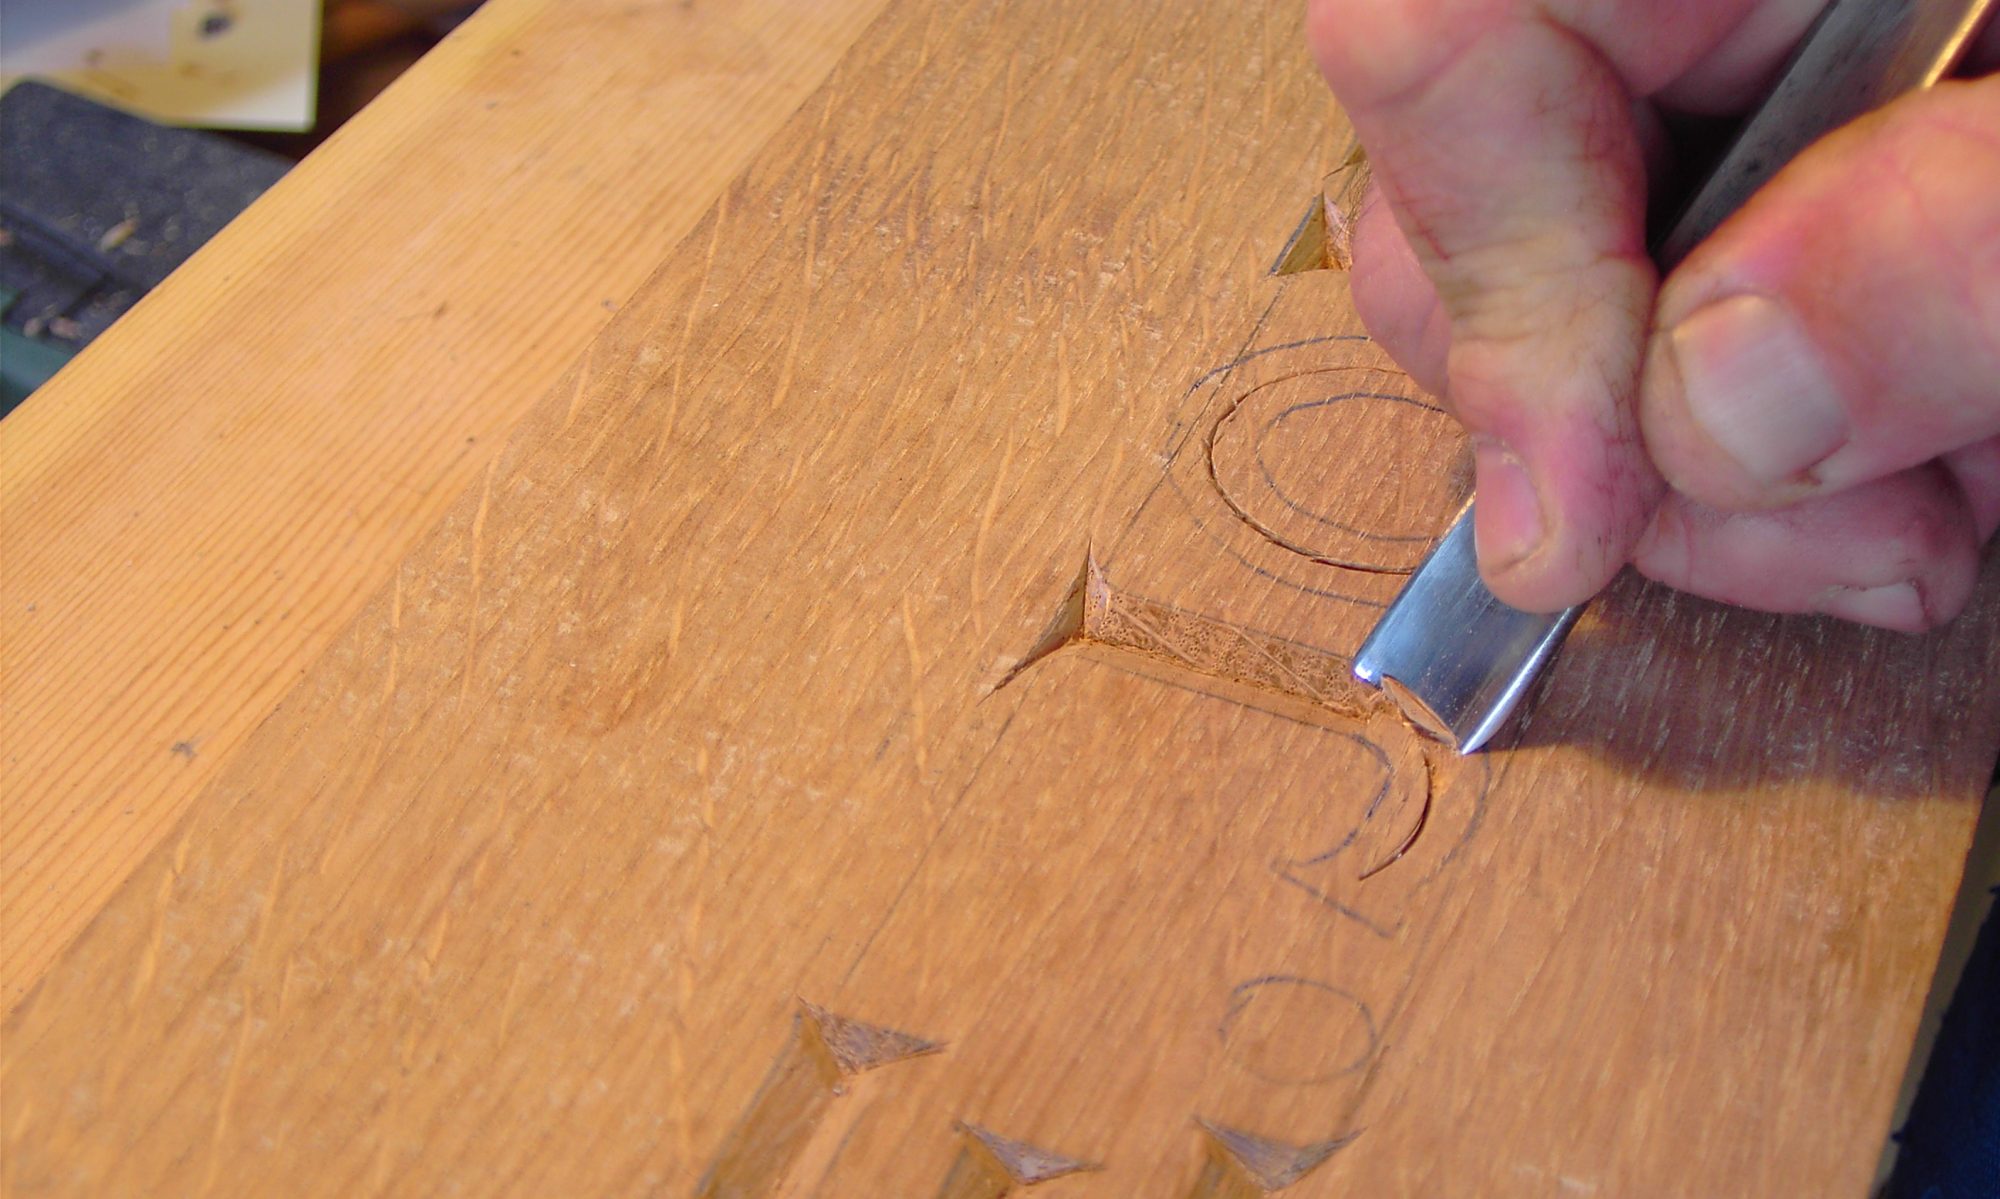
St.Johns’ Church Font – Part4
On each end of the centre column I turned a 2” tenon or spigot to make sure that when I assembled it everything lined up. I also turned a small bead that would sit halfway over the joint,this would disguise the joint and also match the beads on the Easter candle.I was so pleased with the turning of this piece that I totally forgot to photograph it on completion.
 I then turned my attention to the top and bottom of the column.I used a no maths method of drawing the rings.I drew a circle and divided it into segments and then transferred the marks for the joints directly onto the timber.This is the bit that people have said is the da@vinci bit.In order to reflect the tradition of fonts being octagonal I made each ring out of eight pieces of wood. I made a jig to aid cutting the segments and although not bad it wasn’t spot on, and so I made each ring in two halves and then glued each half together.
 In order to get a good joint I planed each edge before gluing.Making sure that I was planing with the grain and not against it. Because I made the top and bottom rings all in one go each ring was numbered to enable me to keep track of individual rings and not mix up tops with bottoms. There were only nine rings in total but at times it still got confusing and I would have to stop and think.

I used cargo straps to cramp the segments together at each stage,and I wiped the joints clean after assembly to aid the drying process and also to keep things clean as I worked.

After marking and cutting each ring roughly round on the band saw I mounted each one individually and turned them flat on the lathe.I sanded each face to ensure flatness,checking them with a straight edge and light source to get the best joint possible.


These pictures show the stack of segments prior to gluing up and the completed rings being laminated together. I only glued one ring on at a time to ensure that there was no slippage during the process,although the rings look to be fairly wide across each segment if they are not central on each other you very soon lose the required diameter.
St.Johns’ Church Font – Part 3
I decided to make the centre column first and this needed a hole right down through the middle to allow for a copper pipe to be inserted for draining  the font. This picture shows the first part of the construction with a small plug of timber inserted at each end on which the drive centres will be located.These plugs were about 1 1/2” long and about 1”square,this was big enough to support the laminated structure and small enough to be drilled out on completion of the turning. These were glued in as part of the lamination so as to give the required strength to the centres.

I then carried on laminating pieces together until I had a solid lump big enough to turn the centre column out of.In this picture you can see the finished lamination and clearly see the plug in the centre.
When I was ready to lift this piece off the bench I thought that I had glued it to the top but it turned out that it was heavier than I had anticipated and I was not strong enough to lift it. Because it was now too big to go through the bandsaw I had to cut the block to length with my chain saw
.Once it was mounted on the lathe between centres it was too big to rotate and so I used the power planer 
to knock off the corners just enough to let it revolve.

This next picture shows me turning the column, this caused it’s own problems as there was no room for the tool rest until I had turned away some of the waste but you can see that the corners have been removed.I kept the turning speed down until the whole thing was balanced and then it happily turned at 425 rpm.As you can see I have a Union Graduate lathe,I was impressed with it’s performance before I started this project but even more so now.